Geofences
A geofence is a boundary around a place your team works: a yard, a job site, a customer's building. SpatialFlow records when a device enters or leaves it, and your alerts, roll call and reports build on those records.
Create a geofence
Open Geofences and click Create Geofence. The page has two tabs.
Draw on map is for a boundary you trace yourself: a fence line, a field, a compound with no street address. The map opens on satellite imagery, because a street map is often blank where you're drawing. Use Jump to a place to move the map to a city, neighborhood or address first; it only moves the map. Then use the drawing tools:
- Draw polygon: click each corner, and double-click to finish.
- Draw circle: click the center, then set the radius in meters.
- Select tool: drag corners to adjust the shape.
- Clear drawing: start over.
Fill in the name and any description, group or tags in the details panel, then click Create Geofence.
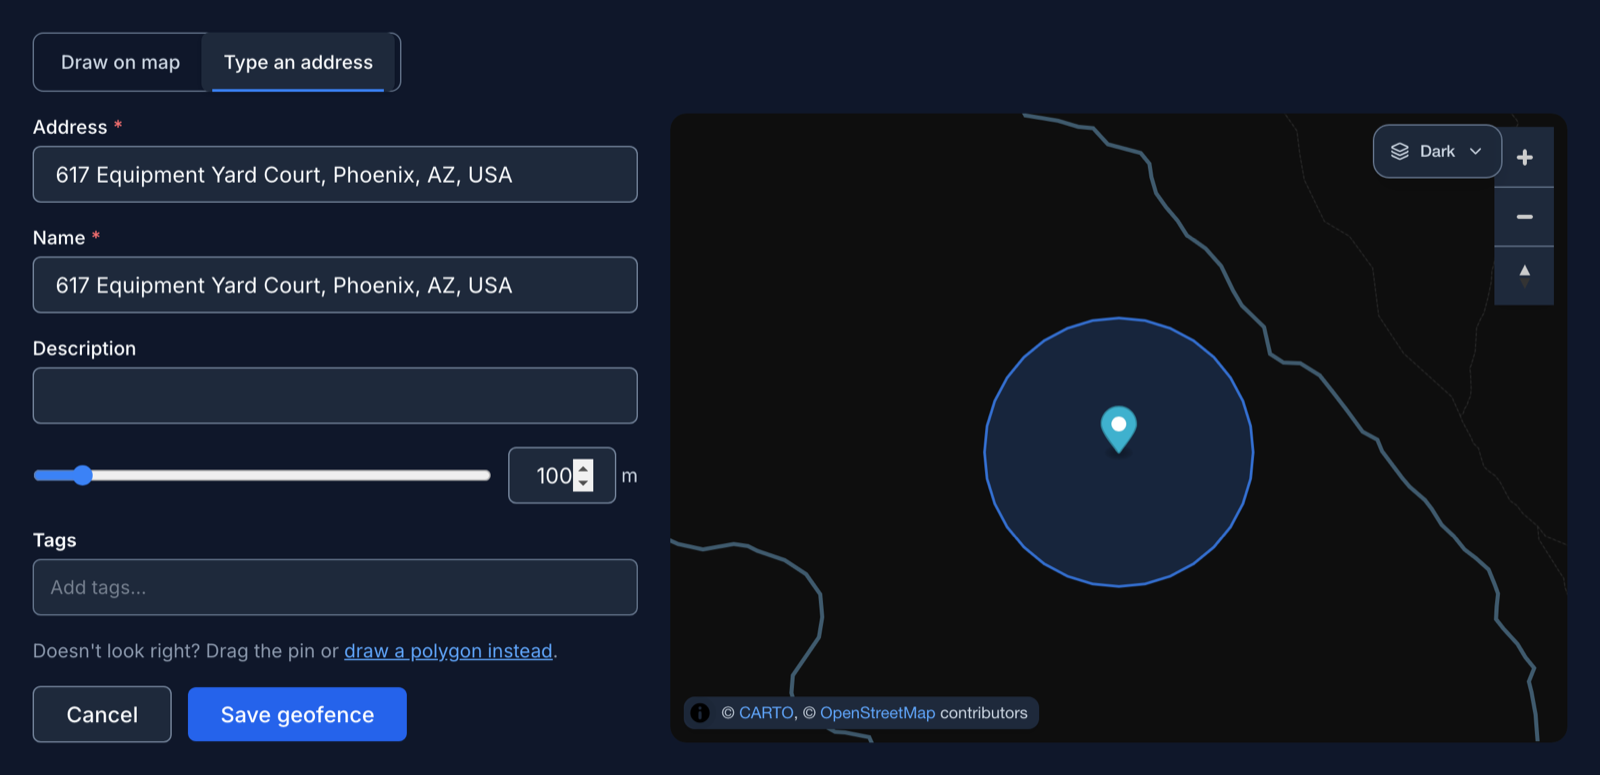
Type an address is quicker when you know the address. Start typing it, pick a suggestion, set a buffer radius between 10 and 1,000 meters, check the name, and click Save geofence. SpatialFlow draws a circle of that radius around the address. If the tab says address lookup is not enabled on this account, use Draw on map, or ask support to turn lookup on.
A place and its alert in one step
New Place (simple) on the Geofences page creates a circular geofence and an email alert together. Give the place a name, find it with Search address or pick it with Use map point, set the radius, and choose whether to be emailed when someone enters, leaves, or does either. Create place saves the geofence and turns the alert on straight away. The email goes to you. You can open the alert later under Workflows to change it.
Import many places
For a list of sites, click Import on the Geofences page. Use Upload CSV for a file, or Paste addresses with one address on each line. Download CSV template gives you a file with the right columns.
Preview addresses looks up every row and flags the ones to check: low confidence, an estimated street number, several possible matches, no match, or a geofence that already exists. From each row's menu you can Skip row, Adjust pin, Re-geocode, or Override duplicate to create it anyway. When the list looks right, click the commit button, which counts what it will create, for example Commit 12 geofences. CSV import format lists the columns and what each outcome means.
Use the building outline instead of a circle
A geofence created from an address starts as a circle. If you care about the building itself rather than the lot around it, you can replace the circle with the building's outline. The outline is the building's footprint, not the property line, so a parking lot, loading dock or yard outside the walls falls outside it. To catch arrivals anywhere on the property, keep the circle or draw a polygon around the whole lot.
Open the geofence, edit it, and click Upgrade to building footprint. The button only appears on geofences created with Type an address. A drawn geofence has no address to look a building up from.
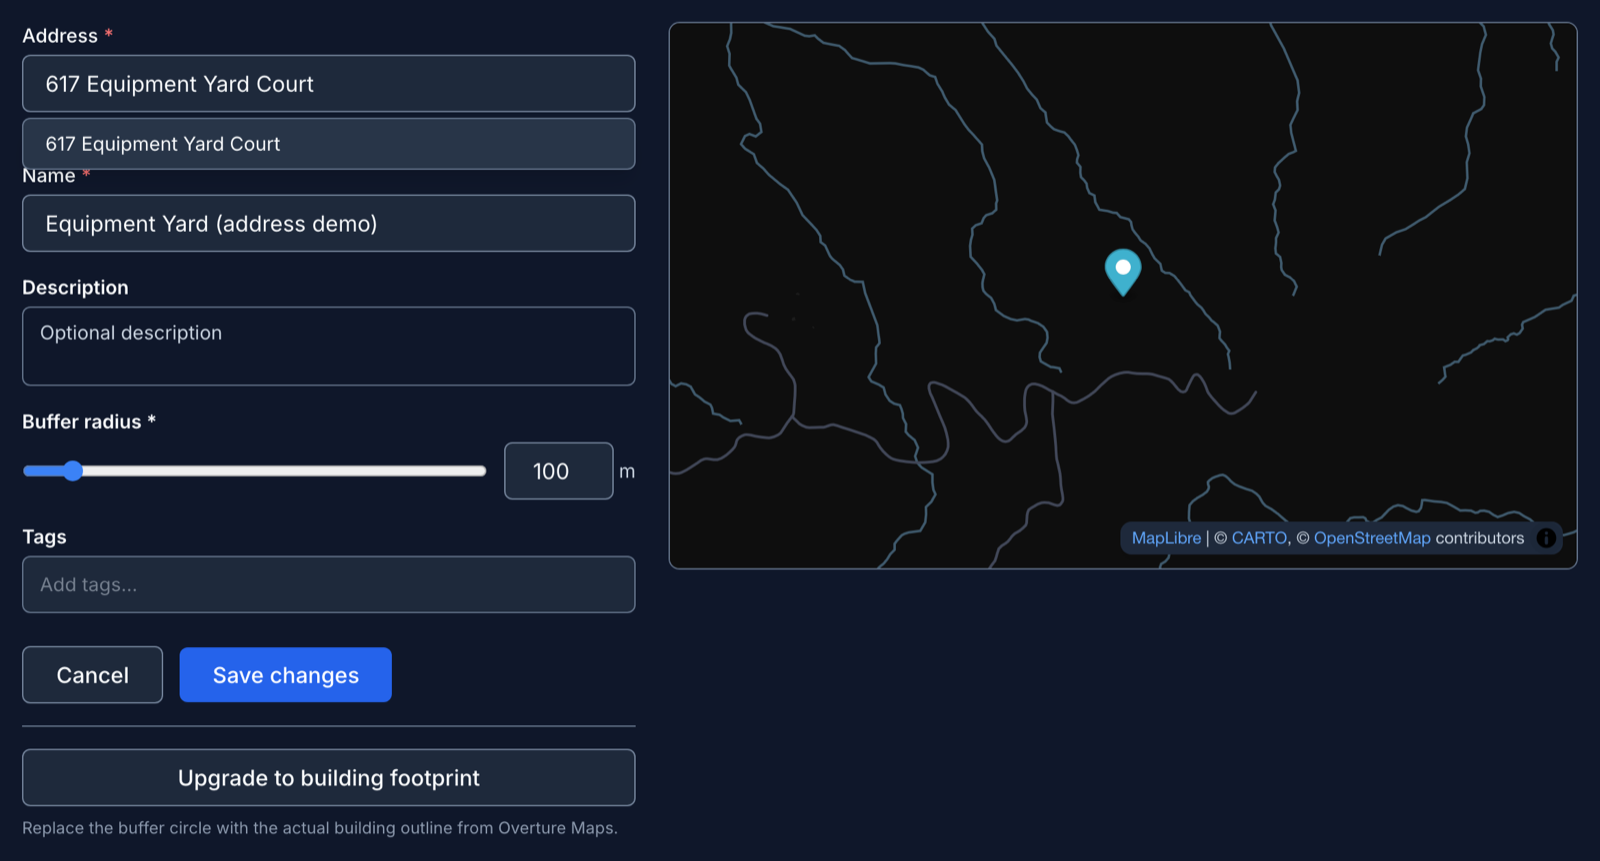
SpatialFlow looks up buildings at the address:
- If it finds one building, you go straight to a comparison of the circle's area and the building's.
- If it finds several, you pick one from a list first. The list shows how far each building is from the address and how confident the match is.
- If it finds none, you can keep the circle or draw a polygon instead.
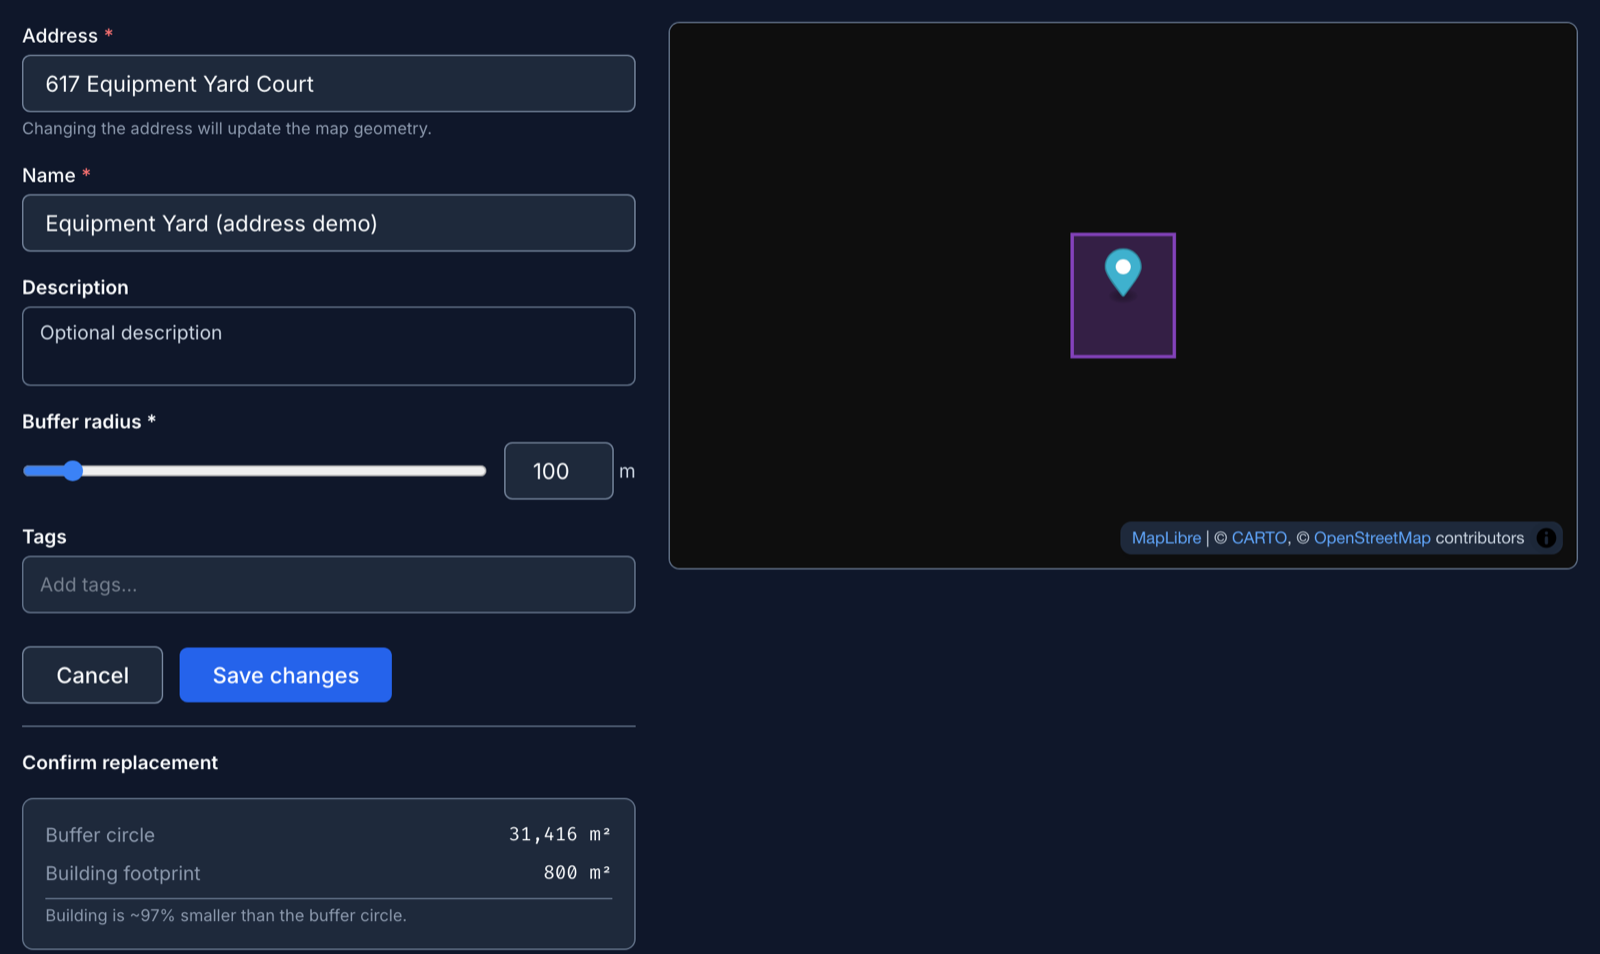
Confirming replaces the circle with the building's shape and adds a credit line for the map data it came from. Later, Re-fetch footprint looks the building up again, and Revert to buffer circle puts the original circle back. Every plan includes this.
Limit a geofence to set hours
A geofence can be active only on certain days and hours, for example a hotel that matters only overnight. Edit the geofence, turn on Schedule, choose the Active Days, and set a Start Time and an End Time. Outside that window the geofence is invisible to alerts: nothing fires in either direction.
The times use the workspace timezone if the owner has set one, and otherwise your browser's. When a trip crosses time zones, set each geofence's Timezone to the zone it sits in.
A start time later than the end time runs overnight, so 22:00 to 06:00 covers the evening and the early morning after it. The day you tick is the day the window opens: a Monday 22:00 to 06:00 window is on at 3 a.m. on Tuesday, not at 3 a.m. on Monday.
That has two effects on alerts:
- Anyone already inside when the window opens counts as arriving, at their first location report after it opens. An arrival alert at 22:00 fires for everyone who is already there.
- Nothing fires when the window closes, not even a departure.
So for a scheduled geofence, alert on departures. Alerts and workflows walks through a full example.
Group, tag and archive
The Group field and Tags organize geofences. The Geofences list filters by group, and an alert can watch every geofence with a tag, so a new site is covered as soon as you tag it.
Archive geofence hides a geofence from lists and maps without deleting it. Its history stays, and it still counts toward your plan's limit. Enter, exit, dwell and tag-based alerts on it keep working, but Missed Check-in and occupancy alerts stop checking an archived geofence, so point those at another geofence first. Restore geofence brings it back.
Where maps open
If your team works in one area, set a workspace home so maps open there instead of on a whole-country view. On the live map, move the map to that area and use Save current view as workspace home. An owner or manager can clear it under Settings > Workspace, in Map Home Area.